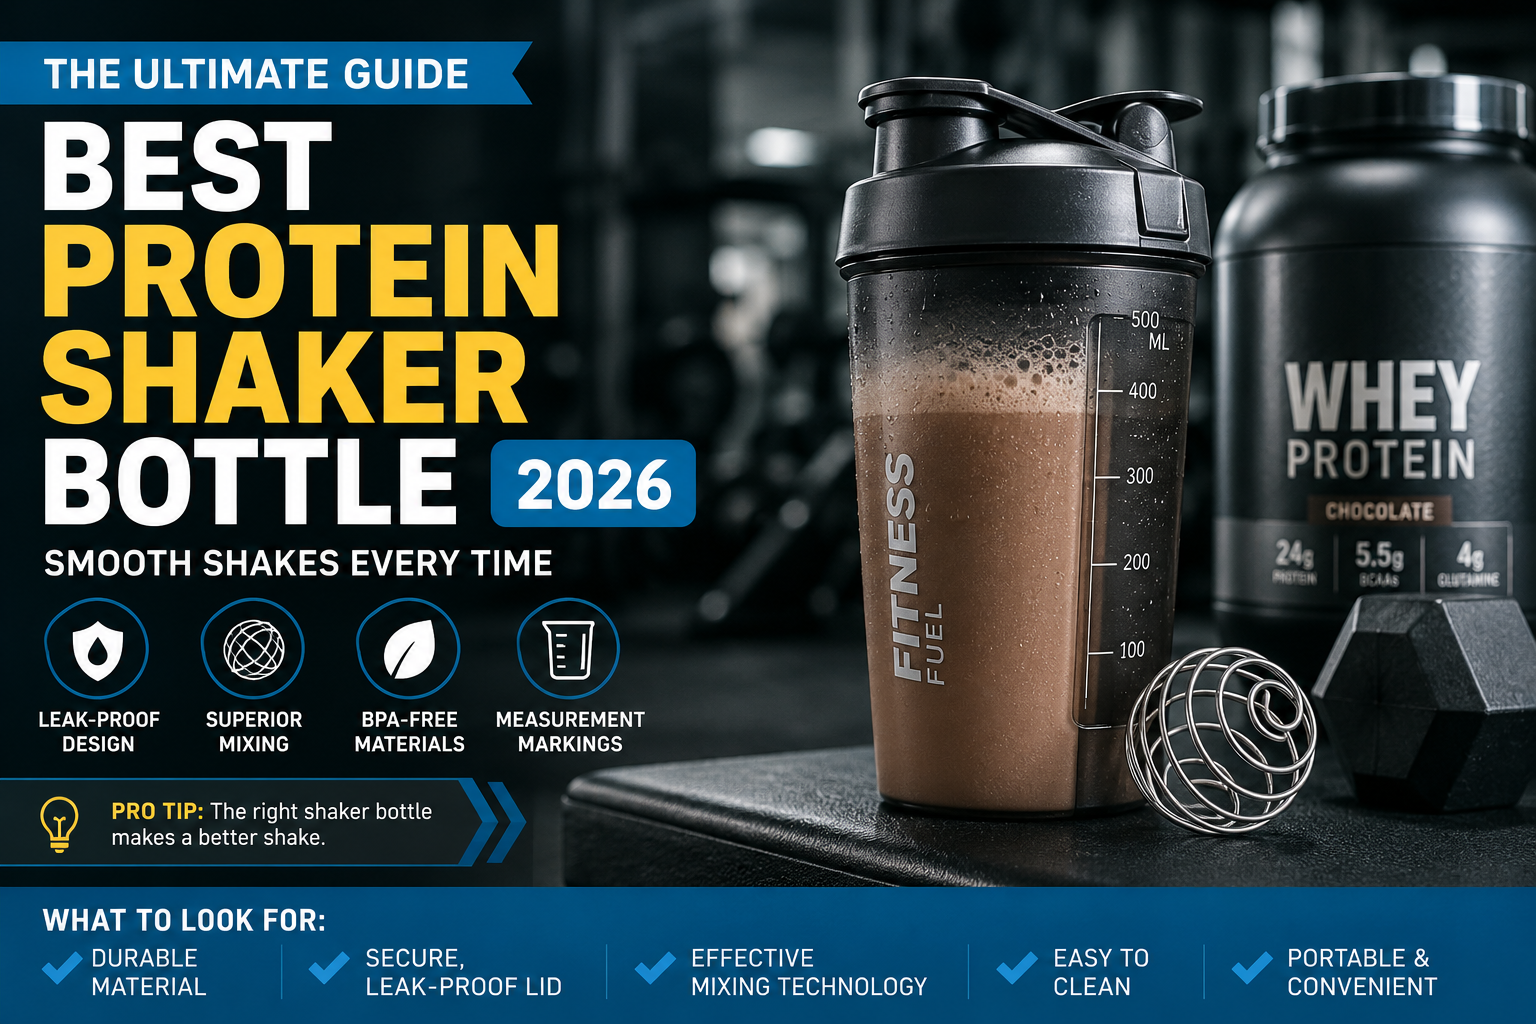
If you have ever finished a hard workout only to drink a lumpy, chalky mess, you know the struggle. A high-quality protein shaker bottle is more than just a plastic cup. It is a specialized tool designed to blend supplements into a smooth, drinkable liquid. Whether you are mixing whey protein, BCAAs, or pre-workout, the right gear makes a huge difference. In my years of testing fitness gear, I’ve found that a bottle that doesn’t leak and actually mixes well is worth its weight in gold. It saves you time and makes your post-workout routine much more enjoyable.
The Secret Science of the Mixing Mechanism
Not all bottles blend the same way. Most use a stainless steel whisk ball that bounces around to break up powder clumps. Others use a fixed grid or a plastic screen at the top. When you use a protein shaker bottle, the goal is to create a vortex. This ensures that every bit of powder meets the water or milk. If you choose a bottle with a heavy-duty whisk, you will notice fewer “protein bombs” (those dry pockets of powder) at the bottom. I always recommend shaking for at least 30 seconds to get that perfect, creamy texture we all want.
Choosing the Right Material: Plastic, Glass, or Steel?
Most people grab a plastic protein shaker bottle because they are light and cheap. However, make sure it is BPA-free to keep your drink safe from chemicals. If you want something that lasts longer, stainless steel is a fantastic choice. Steel bottles are often insulated, meaning your shake stays ice-cold even in a hot car. Glass is the cleanest option because it doesn’t hold onto smells. Have you ever left a plastic bottle in your gym bag overnight? The smell can be terrible! Stainless steel and glass help prevent that “old gym bag” odor from sticking around.
Say Goodbye to Messes with Leak-Proof Lids
There is nothing worse than a protein shaker bottle exploding in your bag. A true leak-proof seal usually features a silicone gasket and a firm “click” when you close the flip cap. I always look for a screw-on lid rather than a snap-on one. Screw-on lids are much more secure when you are shaking vigorously. When testing a new bottle, I suggest filling it with water and shaking it over the sink first. This simple test ensures your gym clothes stay dry and your expensive protein stays inside the bottle where it belongs.
Why Size and Capacity Actually Matter
A standard protein shaker bottle usually holds 20 to 28 ounces. If you only drink small pre-workout shots, a 20-ounce bottle is perfect and fits easily in side pockets. However, for those who use mass gainers or meal replacements, you might need a 32-ounce giant. It is important to remember that the “fill line” is often lower than the total volume of the cup. You need extra space at the top for the liquid to move around. Without that “headroom,” the powder won’t mix properly, leaving you with a thick paste instead of a smooth shake.
Integrated Storage: The All-in-One Solution
Modern fitness fans love a protein shaker bottle with “stacks” or compartments. These are small jars that screw onto the bottom of the main cup. You can store your protein powder in one and your vitamins or snacks in another. This is a lifesaver if you go straight from work to the gym. You don’t have to carry bulky tubs of powder with you. Just grab your loaded bottle and go. I find these especially helpful for long hiking trips or busy office days where I need a quick snack on the fly.
Top Features to Look For
| Feature | Importance | Benefit |
| BPA-Free Plastic | High | Keeps your drink safe from toxins. |
| Whisk Ball | Essential | Breaks up clumps for a smooth texture. |
| Insulation | Optional | Keeps drinks cold for up to 24 hours. |
| Carry Loop | Medium | Makes it easy to carry with one finger. |
| Dishwasher Safe | High | Saves time on cleaning and hygiene. |
How to Clean Your Bottle to Prevent Bad Smells
To keep your protein shaker bottle fresh, you must rinse it immediately after use. If you let protein sit, bacteria grow fast and create a sour smell. Use warm, soapy water and a bottle brush to reach the bottom corners. For a deeper clean, you can use a mixture of baking soda and vinegar once a week. This neutralizes odors that soap might miss. I personally toss mine in the top rack of the dishwasher, but only if the label says it is safe. High heat can sometimes warp cheaper plastic bottles.
The Best Way to Layer Your Ingredients
Did you know there is a “correct” way to fill a protein shaker bottle? Always put your liquid in first, then add the powder. If you put the powder in first, it often gets stuck in the corners at the bottom. By adding the liquid first, the powder stays floating on top, making it much easier for the whisk ball to do its job. This simple trick results in a much smoother drink. I usually use about 8 to 10 ounces of almond milk or water for a standard scoop of protein.
Ergonomics and Grip: Don’t Let It Slip
When your hands are sweaty after a heavy lifting session, a slippery protein shaker bottle is a hazard. Look for bottles with textured grips or a contoured shape. Some brands even use rubberized sides to make sure the bottle stays in your hand. A good carry loop is also helpful so you can hook it onto your backpack with a carabiner. These small design details might seem minor, but they make your daily gym routine feel much more professional and organized.
Impact on the Environment: Reusable vs. Single-Use
Using a durable protein shaker bottle is a great way to help the planet. Instead of buying pre-mixed shakes in single-use plastic bottles, you can buy powder in bulk. This reduces plastic waste significantly. A high-quality bottle can last for years if you take care of it. Investing in one good stainless steel bottle is better for the Earth (and your wallet) than buying five cheap plastic ones that crack easily. It’s a small change that leads to a big positive impact over time.
Conclusion
In the end, the best protein shaker bottle is the one that fits your specific lifestyle. If you are always on the move, get one with storage jars. If you hate warm drinks, go for an insulated metal version. Don’t be afraid to spend a few extra dollars for a brand known for quality. A reliable bottle prevents leaks, mixes perfectly, and stays fresh for a long time. Your fitness journey is hard work—your protein shake shouldn’t be! Pick a bottle you love, and enjoy every sip of your progress.
Frequently Asked Questions
1. Can I put hot liquids in my protein shaker bottle?
Most plastic bottles are not designed for hot liquids. The steam can create pressure and cause the lid to pop off, which might burn you. Stick to cold or room-temperature drinks.
2. How often should I replace my shaker?
If you use a plastic protein shaker bottle, replace it every 6 to 12 months, or sooner if it develops scratches or a smell that won’t go away. Stainless steel lasts much longer.
3. Is a whisk ball better than a fixed grid?
Generally, yes. A whisk ball moves through the entire bottle, while a grid stays at the top. The ball is usually better at breaking up stubborn clumps of thick powder.
4. Can I use my shaker for smoothies with fruit?
A protein shaker bottle is meant for powders. It won’t blend whole fruit or ice like an electric blender. If you add fruit, make sure it is already blended or very soft.
5. Are all shaker bottles dishwasher safe?
Not all of them. Always check the bottom of the bottle for a “dishwasher safe” symbol. If you are unsure, hand washing with warm soapy water is the safest bet.
6. Why does my protein shake still have clumps?
Try adding the liquid before the powder. Also, make sure the whisk ball is inside and shake for a full 30 seconds. If the powder is very old, it might clump more easily.